How to Make Your Own Laser Engraved Cutting Board from Htpowlasers's blog
I'll show you how to make a laser engraved cut board and we'll walk you through the process from design to finish.
A cutting or serving board is an essential in any kitchen, it is where vegetables are cut and prepared and the surface on which they are presented and served.
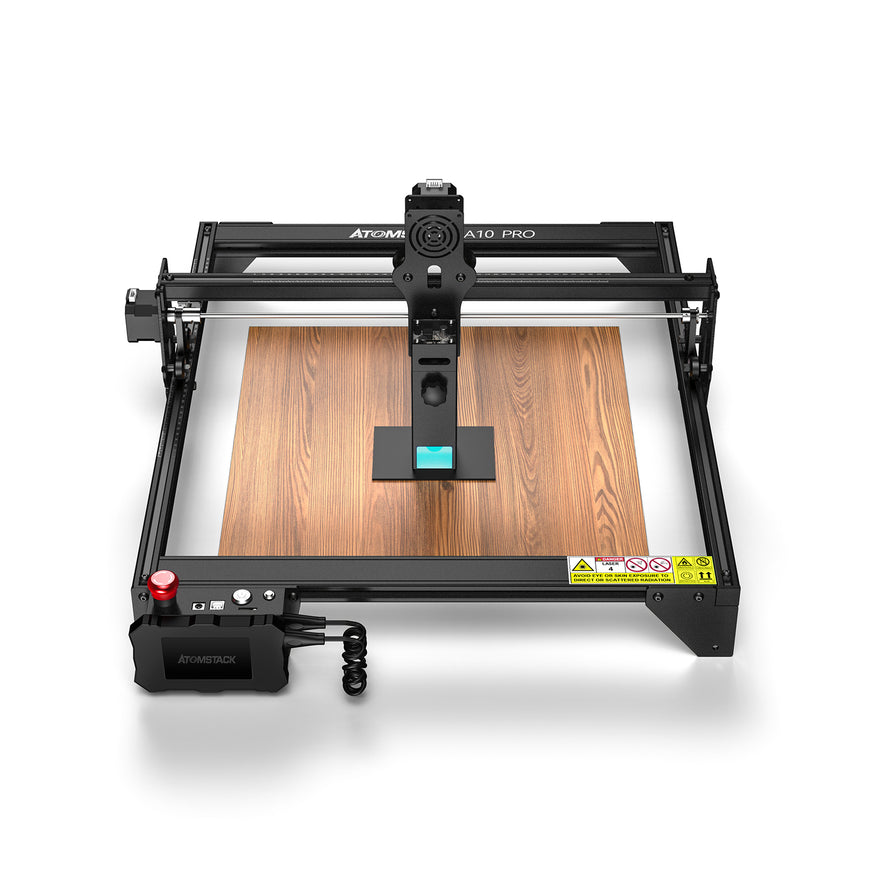
Here we are using the atomstack a10 pro laser engraver.
Follow along as we design and engrave a custom cut board with a laser engraver.
how to carve wood
You can carve wood in several different ways. Over the years, I've shared two wood-burning techniques that are both affordable and easy to master.
Watch how to carve a cutting board
A wood burning tool is a handheld heating tool that burns wood. You can use it like a pen to draw patterns on any type of wood surface.
Burnt markers apply a substance to the wood that, when used in conjunction with a heat gun, burns the design into the wood. This marker can be used with a template to create detailed wood fired designs.
Both of these techniques are great ways to create small designs by hand without breaking the bank.
The next level up in engraving is the laser engraver. I own an Aufero Laser 2, a high quality machine built for crafters and hobbyists. This machine is perfect for my craft room, engraving and cutting dozens of materials.
Watch me unbox and create a simple project with this laser.
Can it be engraved on a cutting board
Yes, exactly! You can engrave custom text and images on the solid wood cutting board. These are great gifts for your friends and family.
Laser engraved cut boards require a few extra steps to ensure they work properly. Read on for all the details.
How to Design Graphics
The first step is to create a design to use on the cutting board. I love using Canva, an easy-to-use and very affordable online design program. There is a free version to try, and I recommend the pro version, which costs $119 per year. Try using Canva to create your own laser engraved designs.
Use a blank canvas and add design elements and text to create exactly what you want engraved on the cutting board.
Once the design is complete, export it as a PNG file.
Using LaserGRBL
There are 2 programs you can use to run your laser engraver; LaserGRBL and Lightburn. Lightburn is a more advanced paid program that allows you to design and create on a larger scale. I suggest you use LaserGRBL until you are happy with the machine, then upgrade as needed.
Connect your machine in LaserGRBL, click the unlock button at the bottom, and open the design file you just created in Canva.
For engraving on wood I use the following setup.
Line to Line Tracking
horizontal direction
8 lines per mm
These settings work perfectly for me, but I encourage you to experiment with different variations and see what you like.
Next, crop the design to remove any white space around it, and click Next. On the next screen, you'll set the dimensions of your design in millimeters, as well as the machine speed. Use the book icon in the Speed section to select the recommended settings for your machine and material.
Now that the design is ready, you need to set up the laser. Click on the center at the bottom of the screen, this will move the laser to the center of the design. From here we can focus the laser.
Loosen the setscrew, slide the cutting board under it, and place the amber acrylic piece on top of the wood. Tighten the setscrew and remove the acrylic. Now the distance of the laser to the wood is perfect.
Back in the LaserGRBL software, click the frame button. This will draw a frame around the design on the wood, it won't leave a mark, but it's a good way to see if your design ends up the way you want it to.
Once everything is properly placed, it's time to carve. Put on the goggles and click the green play button to start the sculpting process.
How to Finish a Carved Cutting Board
There are 2 more steps to ensure that this cutting board will work properly.
First, sand the surface and edges of the wood with 150-grit sandpaper. This removes any rough spots that would interfere with the food.
Wipe the cutting board with a soft cloth to remove surface dust.
Finally, coat with several coats of cutting board oil. This is food grade mineral oil that helps protect and nourish the wood. With regular use, the oil will ensure your boards don't dry out and crack over time. For a board of this thickness, I recommend 3 coats.
We cover how to make your own laser engraved cutting board, from start to finish. Be sure to watch the video and save this article for future reference.
There are also laser engraving machines with the same power: longer ray5 10w, sculptfun s10, twotrees tts-10

The Wall